
Stages
Use the “Stage” to define a specific condition or action of a client, on the basis of which interacting with the product happens or can happen.

The First Stage is created automatically after creating the CJM.
To create a new Stage:
- Hover over Stage Created Header,
- Click on
 icon to create a new Stage.
Group stages
To group stages:
- Using
 + Click, select the Stages that need to be placed in the Group,
 - In the bottom menu, click the Group Stages button.
To Ungroup stages:
- Click to Group of the stages that need to be ungrouped,
- In the bottom menu, click the Group Stages button.
Sections
In “Sections”, you can pick a specific visualization type to use: “Quotes”, “Channels”, “Experience”, etc.
After creating the СJM, you need to select the type of Section that you want to add in the opened window.
Choose Section type, select style and click on “Use template” button.
To create more Sections:
- Hover over the Section,
- Click icon,
- Choose Section type, select style and click on “Use template” button.
You can also group one or more sections. Hold “Shift” and click on sections you want to group. In the bottom menu, click Group sections.
Section types
Various types of Sections contains all the necessary elements to create your CJM such as: “Quotes”, “Experience”, etc.
Text
Empty text box. Using to store any information in any form. Be creative!

Select a cell style and add it to the CJM.
Edit a text by double-clicking on the text. To format the text, select the fragment and format it in the pop-up box.
You can configure the following parameters in this cell using shortcut ![]() +
+ ![]() :
:
- Text align,
- Text size,
- Text color,
- Background color.
List
Use the “List” to create intuitive lists.
The content of the lists is edited in the same way as the text cell.

You can configure the following parameters in this cell (CMD (CTRL) + E):
- Text align,
- Text color,
- Text size,
- Border color,
- Border size,
- Bullets type,
- Bullets color,
- Background color.
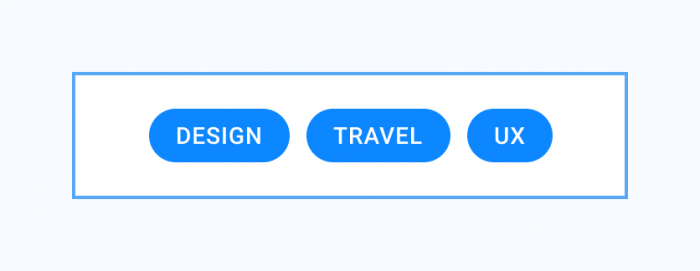
Tags
Information label that allows you to quickly classify a CJM.
To edit the text, double-click on it. To apply the entered text, press Enter or click on space near the block.
You can configure the following parameters in this cell (CMD (CTRL) + E):
- Tags align,
- Text color,
- Text size,
- Tag color,
- Background color.
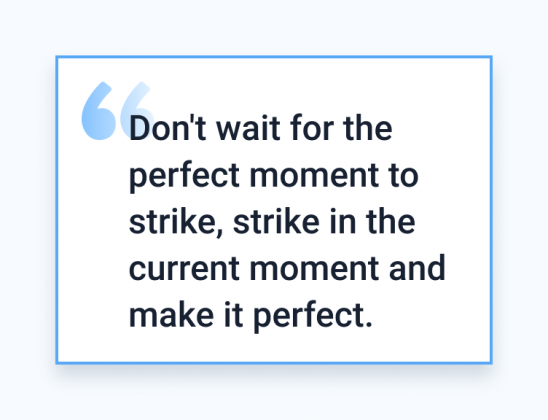
Quotes
In the “Quotes” section, you can use quotes from real users that you received as a result of your research. Quotes should be relevant to the product or characterize the CJM, which in consequence will help determine the attitude of the target group to the product.
You can also use the information provided by the customer support department and the user’s feedback from the website.
Select a cell style and add it to the canvas. Edit the text by double-clicking on a text.
You can configure the following parameters in this cell (CMD (CTRL) + E):
- Text,
- Background,
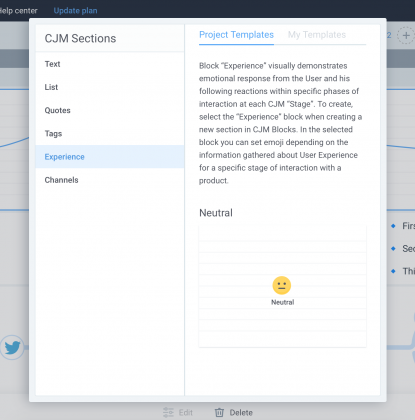
Experience
“Experience” visually demonstrates emotional response from the User and his following reactions within specific phases of interaction at each CJM “Stage”.
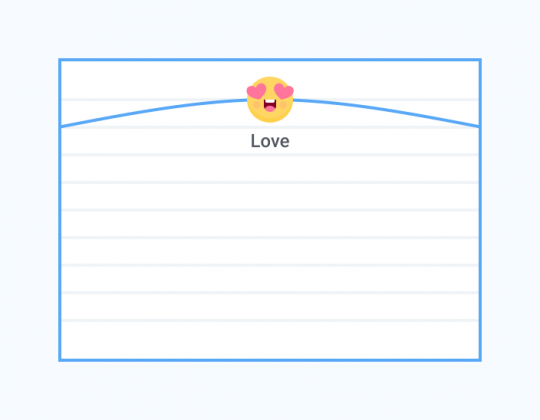
To create it, select the “Experience” when creating a new section in CJM. In the selected cell you can set emoji depending on the information gathered about User Experience for a specific stage of interaction with a product.
Channels
“Channels” demonstrates User’s interaction channels via representation on a diagram with specific channels of communications for each “Stage” CJM.

To create it, select the “Channels” when creating a new section in CJM. In “Channels” you can pick a required channel of communication with a User (social media, brand website, mobile app, smartphone, etc.)